
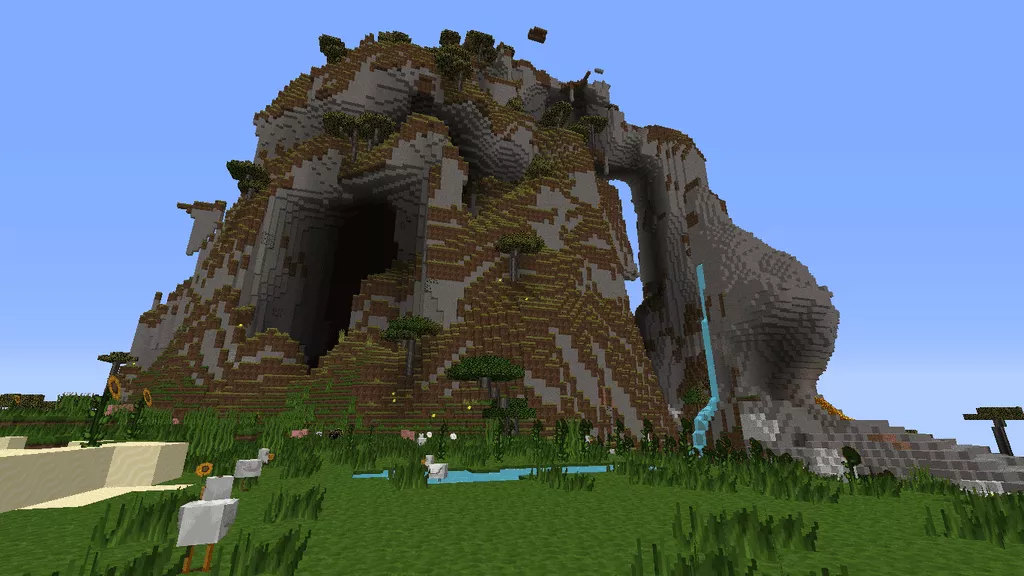
Minecraft mountain house: Isn’t this a great place to call home? Minecraft houses of various construction styles are extremely popular right now. These structures appear to be luxurious and up-to-date, but they’re also engrossing and simple to construct.
In this tutorial, we’ll show you how to construct a mountain home in Minecraft in under ten minutes! It’s a simple structure that doesn’t require a lot of resources; however, from afar, it will look enticing and mind-blowing.
When it comes to the overall design, this Minecraft house has a modern look with two floors and an open concept, but it also has more cool-looking features.
To learn more, continue reading this step-by-step tutorial. We’ll show you in seven easy steps how to build your dream mountain retreat in this blog post.
What Are the Simpler Ways to Build These Amusing Minecraft Mountain House Form?
Firstly you may want to know who is the creator of this unique design? A great YouTuber MAB JUNS is the one who makes video tutorials on architecture.
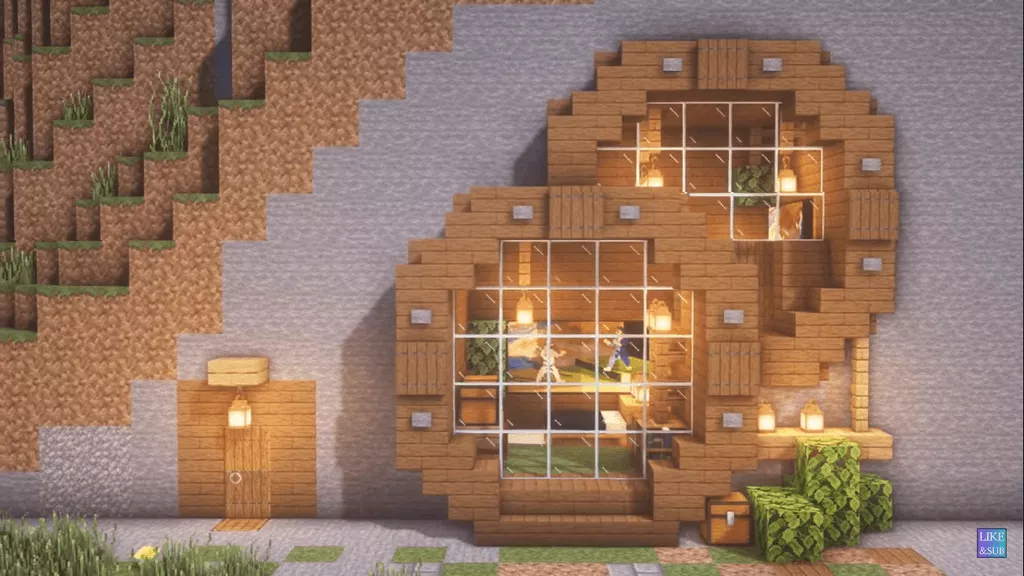
Although this two-story mountain home only has two bedrooms, it still manages to impress on the outside. This Minecraft house was built inside a massive mountain in the game Minecraft.
Don’t be alarmed; it’s a piece of cake to make and a lot of fun. For your convenience, we’ve added a link to the complete tutorial so you can see everything step by step.
We are here to help you make a spectacular small home on high mountains and for that, we’ve guided you with step by step process of making a mountain home in Minecraft.
The steps are as follows:
Step 1: Create a Plan and Gather the Necessary Materials.
To begin, here are the materials you’ll need to build this Minecraft mountain fort. The following is a detailed blueprint for the house we intend to construct.
If you’re interested in building this Minecraft mountain house tutorial, here’s a list of all the materials you’ll need to get started
- Glass Pane
- Spruce Trapdoor
- Dark Oak Sign
- Oak Slab
- Oak Leaves
- Oak Fence
- Spruce planks
- Spruce Stairs
- Grass Blocks
- Stone Button
- Ladder
- Spruce door
For decorations and interiors these are the following suggestions:
- Painting
- White Carpet
- Lantern
- Bookshelf
- Crafting Table
- Chest
- Black Bed
Step 2: Locate the Proper Mountain: Building a Mountain in Minecraft
The next step is to locate the ideal spot for your Mountain House. Start building on a mountain of your choosing.
Once you’ve located such a location, you can begin the construction process.
Step 3: Putting Together The Structure
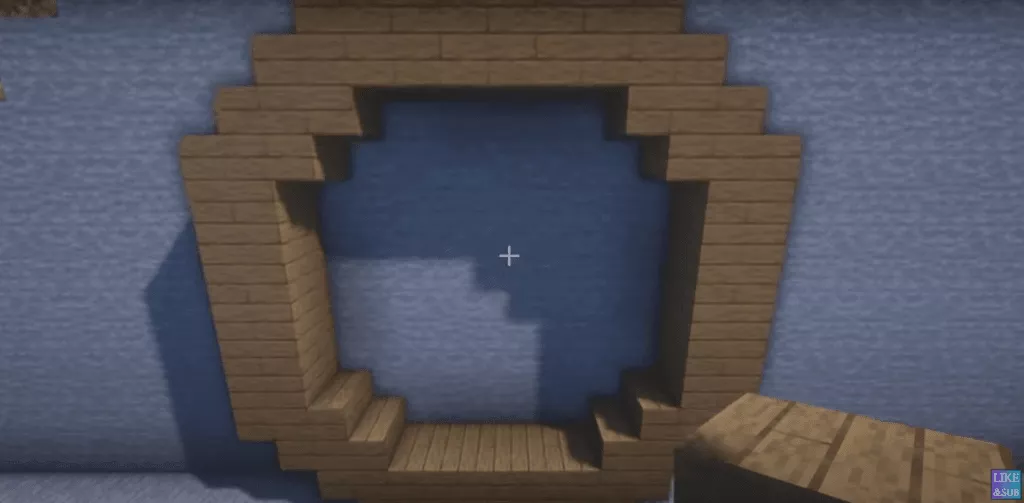
When you’ve located the ideal mountain, take a look at the overall layout and begin drawing a circle or frame around it. To make two circles, use spruce planks and a set of stairs. Completely finish the frame with care.
After that, add a block to the frame to make it longer. Add another layer of blocks on top of the first one to complete the structure.
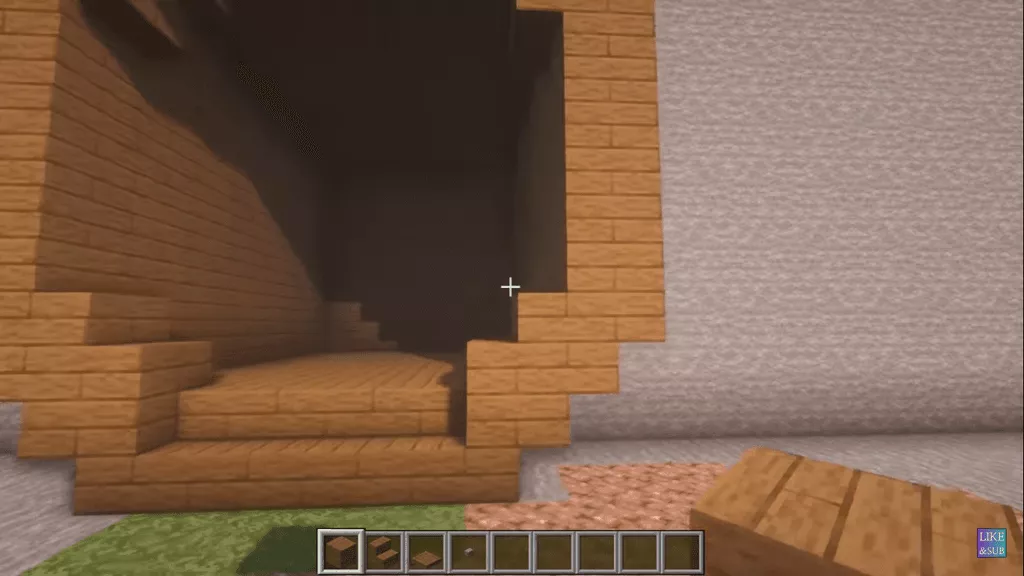
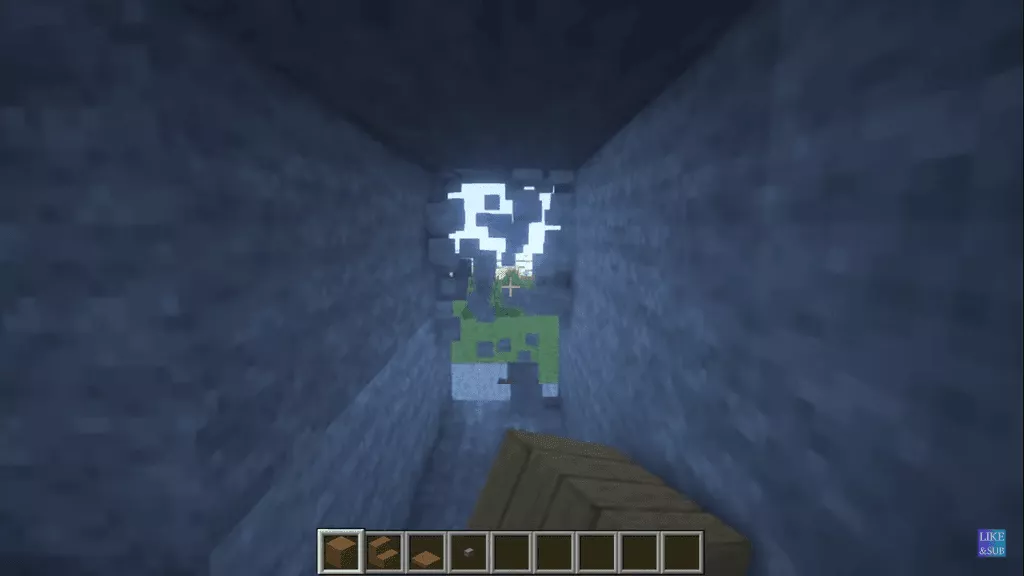
Now, make some room in the frame for this. Make an attempt to break a rock or a portion of a mountain within your frame. Only go as far as five blocks deep if you can.
Once the first floor is complete, we’ll move on to the second, so make a second frame now. So pay attention to the design and begin by creating a new frame that sits on top of the existing one, as shown in the image.
Step 4: Add the Floor and Ceiling
Once you’ve completed both floors, it’s time to replace all of the floors, ceilings, and walls with spruce planks. It’s entirely up to you whether or not you do this step during the construction of the floors.
Although we’ve used spruce blocks in this project, you can use any kind of block you like. Explore a wide range of architectural styles by combining different types of blocks, such as oak.
Step 5: Construct a Doorway, Then Install Windows and Doors
Make room for your main entrance first. On the first floor, you must break some blocks in an L-shape to do so. Just ensure that you’re going slowly and precisely when constructing this.
It’s finally time to start constructing your Minecraft mountaintop home’s doors and windows. To keep things simple, I’ve used plain doors here, but you can certainly use more ornate ones.
Step 6: Create an Interior Design for Your Minecraft Mountain House.
We’ll now finish the interior design work and turn our house into something truly special. So, are you all set to go? As a starting point, let’s take a look at the basement. Start with the basics, which are lighting and a bed.
Then you can add more elements to it such as book racks, tables, cupboards etc. Other than these you may add anything to your liking.
Minecraft Room on The First Floor:
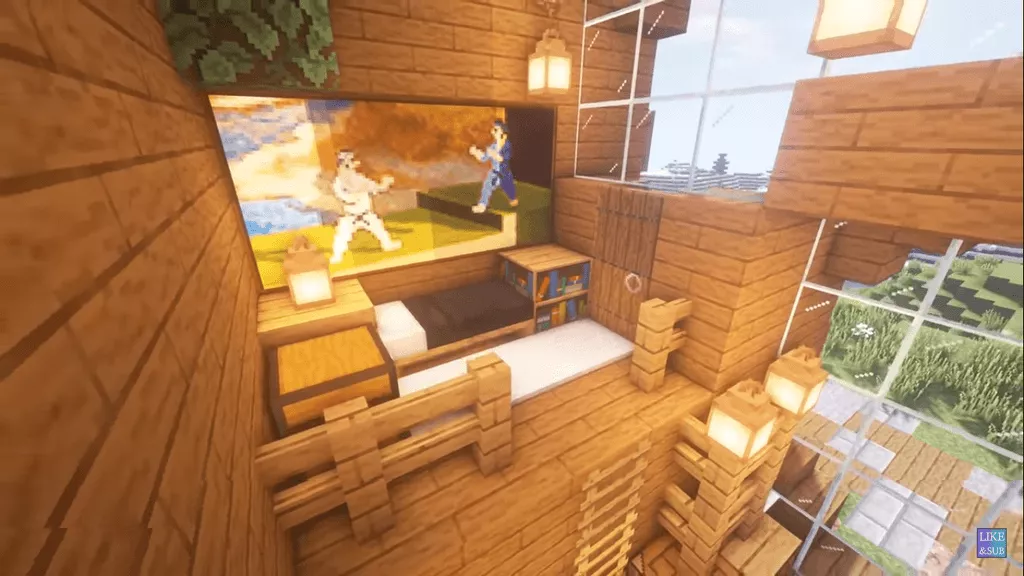
Decorate your living or bedroom with lanterns. A double bed should then be added to one of the room’s walls on the other side. Side tables with lanterns or oak leaves can also be created. This will give your room a more aesthetically appealing look.
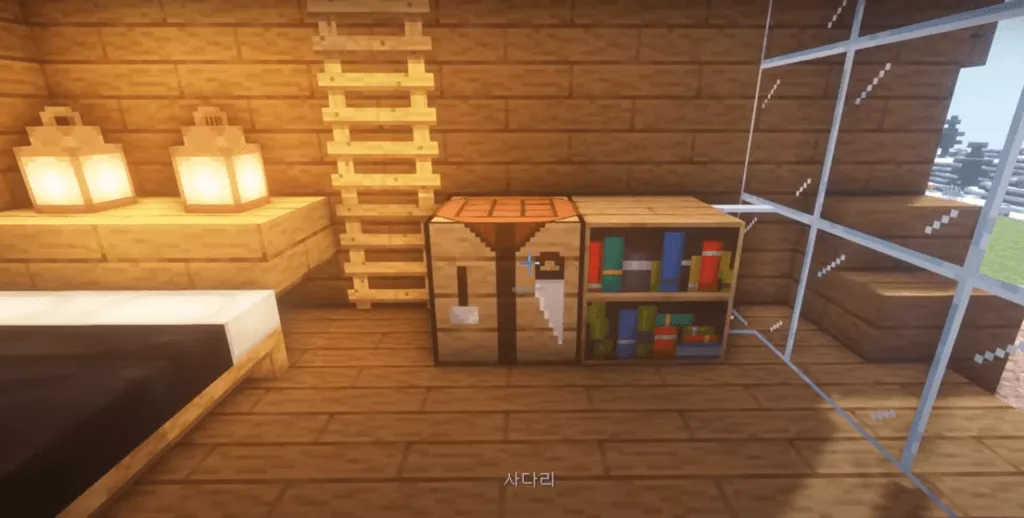
Set up a bookshelf and a chest on the right side of your bed, and then install a fence over it for extra protection. Put two chests on top of a table you’ll build from slabs and trapdoors after that.
We’re going to do some landscaping in this house to make the interiors more pleasant. Near the bed area, use oak blocks and sandstones or blocks. They can also be used as a carpet and look great doing it. The addition of television or paintings to your interior decor is another option.
Put a simple ladder on the second floor, and you’re done. For your own safety, make sure to set up a fence and some lighting.
Minecraft Bedroom on the First Floor:
Let’s add a second bedroom to the house’s first floor at this point. We like this entrance because it’s out in the open, and we can go out to the terrace from here.
Place a lantern on the table’s surface and a side table on top of it. You can put a bookcase and a chest behind it. To add a touch of nature to your home, hang oak leaves from the ceiling. Put some paintings and sandstone blocks as a carpet on the bedside table, and finish the room.
Step 7: Complete Work on The External Surface
The final step is to decorate the outdoor area. You’ll be amazed at how much your outdoor space changes just by adding some lighting and simple decorations. You can simply design according to your taste and the kind of vibe you want.
You can add some lighting, some grass, plants etc. Your home will now have a more luxurious and aesthetically pleasing appearance.
When it comes to lighting, lanterns are typically used, but this can be changed to suit your preferences. We’ve tried to keep the design simple by only using trapdoors and buttons to accessorise the structure.
And after that, tadaaa… It’s time to finish building your Minecraft mountain fortress!
Continue to Minecraft Mountain House
You now know how to construct a modest mountain home in Minecraft. It is possible to build any kind of hill house or structure using this method. To begin, build something as simple as this Minecraft Mountain House tutorial.
Don’t try to tackle something too complex right away because you might end up with a muddled mess. However, the most important aspect of your design is that it should appear realistic.
It’s supposed to look like a real house, not like something popping out of television into reality. This kind of home will bring another kind of joy and rejuvenating effect on your mind and soul.

