
Fixing Bathroom Sink Leaking – Has your bathroom sink been gurgling and sputtering, or worse yet, leaking water everywhere? Don’t despair! Although it might seem daunting, fixing a bathroom sink leaking is quite simple. With the right supplies and this step-by-step guide, you can easily fix your bathroom sink and prevent more water damage.
In this article, we’ll walk you through the most common causes of a leaking bathroom sink and what steps you need to take to fix it. From identifying the source of the leak to replacing parts, we’ll help ensure you know what to do so that your sink is dripping no more. Let’s get started on fixing that bathroom sink!
What Causes a Bathroom Sink to Leak?
Have you ever heard water dripping in your bathroom and wondered what caused it? Chances are it’s your bathroom sink leaking. This common problem can easily be fixed with some basic tools and plumbing know-how. But before repairing the leak, you need to understand why it happened in the first place.
Understanding what causes a bathroom sink to leak will help you fix the issue quickly so you can return to enjoying a leak-free sink. The most common reasons why a sink might start leaking include the following:
- Worn or faulty seals: Seals around the taps and drain pipe connections are designed to keep water inside the sink. Over time, these seals can become worn and cause leaks.
- Corroded pipes: If your pipes are older, corrosion can weaken them and cause them to leak.
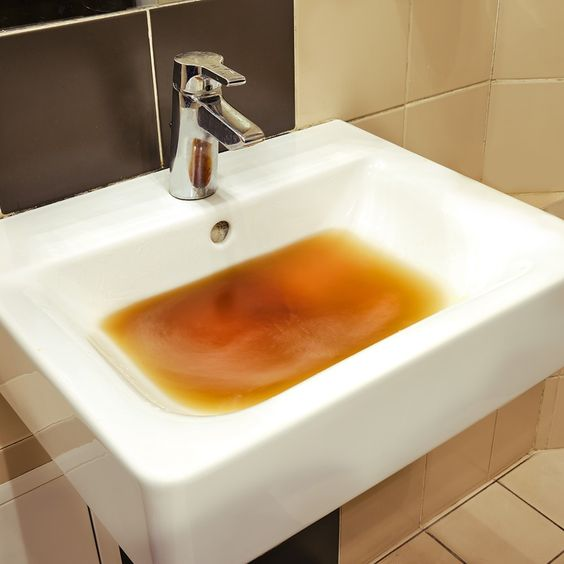
- Blocked drain pipe: If debris builds up inside the drain pipe, it can cause water to leak from the edges of the pipe.
Identifying what is causing your sink to leak will help you decide on an effective solution.
Try to Fix the Source of the Bathroom Sink Leak
Since you’ve already identified the source of your leak, it’s time to take action. Fixing a sink leak can vary depending on where it comes from, but here are some common steps that may apply to you:
- Check the water pressure. If the water pressure is too high, it can cause leaks in your pipes and fixtures. Try to reduce the pressure by adjusting the shut-off valve under or near your sink.
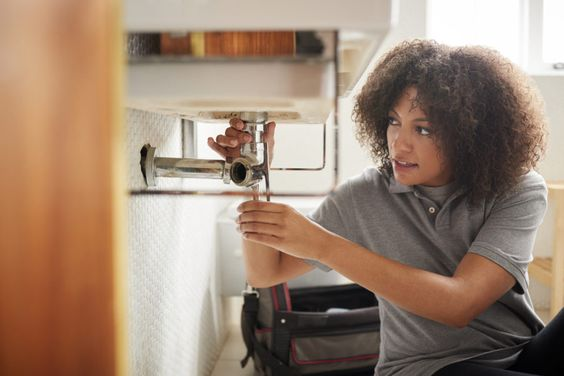
- Tighten any loose connections with adjustable pliers or a wrench. Be careful not to over-tighten, as this can cause further sink damage.
- Tighten the nut securing the faucet handle in place. This may fix small leaks beneath the handle itself without needing to take anything apart.
- Replace washers if needed. Over time, washers can wear down, causing leaking at their seals—so check all washers for signs of wear and tear and replace any that need it for a leak-free sink!
Also, you can read: Ideal Bathroom Vanity Height | Ultimate Guide
Gather the Necessary Tools for Repairs for Fixing Bathroom Sink Leaking
You already know why you need to fix your leaky bathroom sink, so let’s talk about the tools you’ll need for this job. Here’s a list of what you’ll want to have on hand for leaking issues:
- Adjustable Wrench: This will be used to tighten and loosen any bolts or nuts that need to be adjusted.
- Screwdriver: Typically, you’ll only need a flathead screwdriver, but it depends on the type of screws that come with your specific fixtures.
- Pipe Wrench: This is used to turn and secure any plumbing pipes during the repair.
- Plumbers Tape: This tape adds a layer of protection against leaks and is a must-have for any plumbing job.
- Replacement Washer & O-Ring: If your fixtures have worn out or broken, you might need new washers and/or O-rings to fix the problem.
Gathering these tools before you start can help make the process smoother, faster, and less frustrating. So take some time to hunt down all the bits and pieces before you get going!
How to Fix a Clogged Sink
If your sink is clogged, you have to fix it before you can move on to seal any leaks. Most clogs can be cleared with a plunger and a bit of patience. Here’s how to do it:
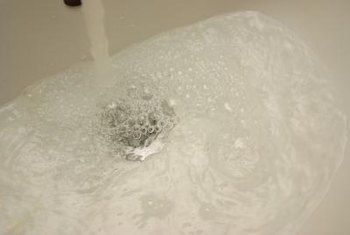
Step 1: Fill your bathroom sink with cold water
This will help clear out any built-up debris and make it easier to plunge. Ensure the water level is high enough that the cup of the plunger is completely submerged.
Step 2: Place the plunger over where the drain opening
Ensure you have a good seal so that all of the pressure generated by plunging goes into loosening the clog.
Step 3: Begin plunging
Press down firmly and quickly to create suction and unclog your drain. It might take a few tries, but eventually, you should be able to get your sink running freely again. Don’t forget to mop up any water that spills out of the sink during this process!
Steps to Repair a Dripping Faucet
You’re the proud owner of a bathroom sink that won’t stop dripping. Don’t fret—fixing a leaky faucet is a fairly straightforward process.
Step 1: Turn off the Water Supply
The first step is always safety first! Before attempting any repairs, shut off the water supply valve beneath the sink. This ensures that no water will flow while you replace parts or make adjustments.
Step 2: Disassemble the Faucet
Next, disassemble your faucet by removing screws and unscrewing any parts or handles. You’ll then want to remove the entire faucet body to get access to what’s causing the leak. Keep track of all of your parts, as you’ll need them later when reassembling your new faucet.
Step 3: Inspect & Replace Parts
Now it’s time for inspection and repair—look at all of your faucet’s components for signs of damage or wear and tear, such as cracked washers, corroded o-rings, or broken seals that could be causing leaks. If any pieces are damaged beyond repair or replacement, it might be time to invest in a new bathroom sink and fixtures!
Step 4: Reassemble & Test
Once you’ve located and replaced any faulty components, it’s time to put your faucet back together by reversing each step taken in disassembling it. Make sure each piece is tightened securely before testing out your work: turn on your water valve and check for leaks where you just worked—if everything looks good there,
Read More: How to Build a Bathroom? | The Step-by-Step Guide
The Importance of Periodic Maintenance Checks
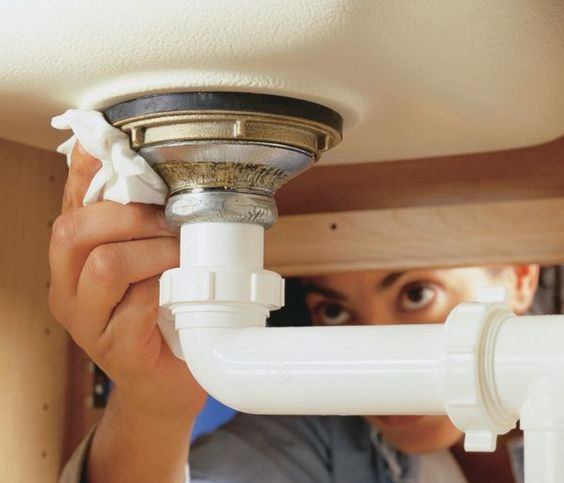
Regular maintenance and repair can go a long way in preventing costly sink replacements or, worse, water damage. It’s important to inspect the plumbing fixtures now and then to ensure everything is in working order.
It’s especially important to regularly check for any bathroom sink leaks, as these can quickly add up and cause much damage. Check to make sure that the supply lines are secure and not leaking. Replace any O-rings if they are starting to wear down, as they cannot keep water contained.
Inspect all areas around the sink for moisture or signs of water damage, such as discoloration or peeling paint. Pay close attention to places where two different materials meet, such as between tile and grout. Water can seep through cracks in these areas if left unattended.
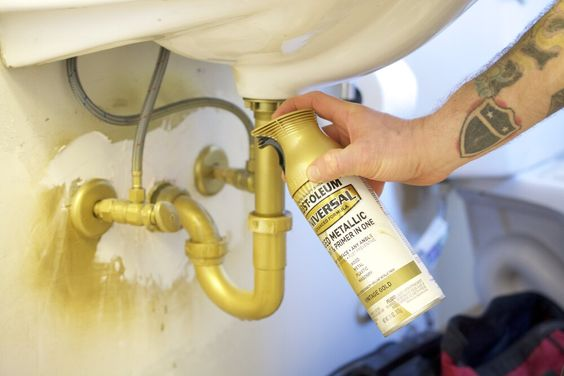
Check for any signs of corrosion on your pipes and fixtures. If there is corrosion, it may be time to have your pipes replaced or purchase new fittings sooner rather than later.
By keeping up with periodic maintenance checks and repairs, you can reduce the need for costly bathroom sink replacements due to water damage caused by leaking toilets or fixtures. Plus, you’ll save yourself energy and time by dealing with issues immediately instead of waiting until things get out of hand – which could mean an even bigger mess down the line!
Tips on Maintaining Your Bathroom Sink to Prevent Leaks
Maintaining your bathroom sink is the best way to prevent leaks in the first place. Here are a few tips that can help you with leaking issue:
Cleaning
Once every month, be sure to clean your bathroom sink; remove any dirt, mildew, and soap scum buildup by scrubbing around the edges of the sink with a sponge soaked in warm water. Regular cleaning will also help in identifying any potential problems early on.
Disinfecting
After cleaning, use a disinfectant cleaner on any parts of the sink that are prone to bacteria and mold buildup, such as the drain and overflow ports. This will help keep your bathroom sink sanitary while also preserving its esthetic value.
Checking for Damage
Make sure to regularly check for damage or corrosion on your faucet and other drain components, as these could be an indication of an impending leak. If you notice any issues, replace these components right away using a kit specifically designed for this purpose. This will help ensure that future leaks can be prevented before they occur.
Related Post: Why Does My Bathroom Smell? | These Solutions Will Solve Your Bathroom Smell
Troubleshooting if the Leak Runs Down the Overflow Pipe
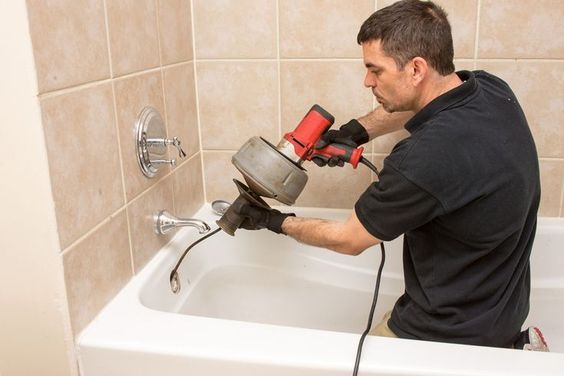
If the water is leaking from the overflow pipe, this is usually caused by a clog in the drain. You can try to clear the clog yourself using a plunger, but if that doesn’t work, you’ll need to call in a professional plumber.
But even before you do that, there’s one important thing you should do: check to make sure the sink isn’t actually overflowing due to a clogged drain! Sometimes, when there’s too much water flowing down the drain, it can cause water to flow up and out of the overflow pipe. As gross as it sounds, this is actually an easy fix: just unclog the drain and get the water running freely again.
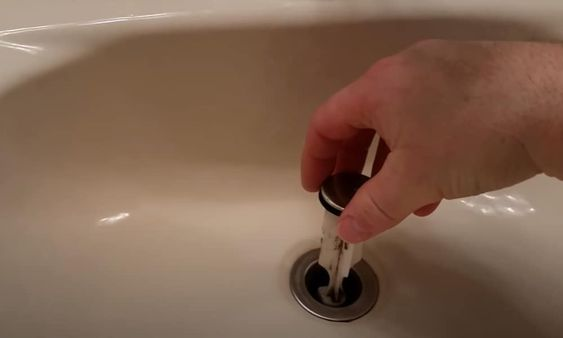
It’s also worth checking if your sink trap needs cleaning. This is probably something you should do every few months anyway; buildup can cause problems like smelly drainage and slow drainage speeds, both of which can lead to overflows and leaks. To clean your sink trap, take off the stopper and unscrew it from its connecting pipes — then take it outside and rinse out any debris with a garden hose.
If neither of those solutions solves your problem, then it could be a bigger issue — so don’t hesitate to call in help from a professional!
Signs That You Should Call a Professional Plumber For Leaking Issue
If your leaky bathroom sink is still leaking after trying out these steps, then it may be a sign that you should call a professional plumber to take a look. Here are a few signs that indicate you should get some assistance from a qualified plumber:
- If the situation seems too complicated for you, like if the problem is coming from an unknown source or if multiple parts of the sink seem to be affected.
- If the problem persists even after you’ve done all the required steps to fix it.
- If you don’t have the right tools or skills to deal with such intricate repairs and installations.
- If you have no idea how to troubleshoot or diagnose what might be causing the issue in the first place.
- You suspect there is major damage underneath or inside the walls or floor, causing long-term structural problems that need urgent attention.
In any of these cases, it might be best to call a professional to take over and sort out your bathroom sink leaking once and for all!
Read More: The Perfect Sink Drain Size for Your Bathroom
Conclusion
All in all, fixing a bathroom sink leaking is a pretty straightforward process as long as you have the right tools and follow the steps in the right order. Not only can you save yourself some money, but you can also gain the satisfaction of doing it yourself and feeling good about the accomplishment.
Whether you’re up for a small DIY project or you’re a seasoned handyman, taking on the task of fixing your own bathroom sink can be an enjoyable way to spend some time and peace of mind knowing your sink won’t be leaking anymore. So grab your tools and get to plumbing work!

