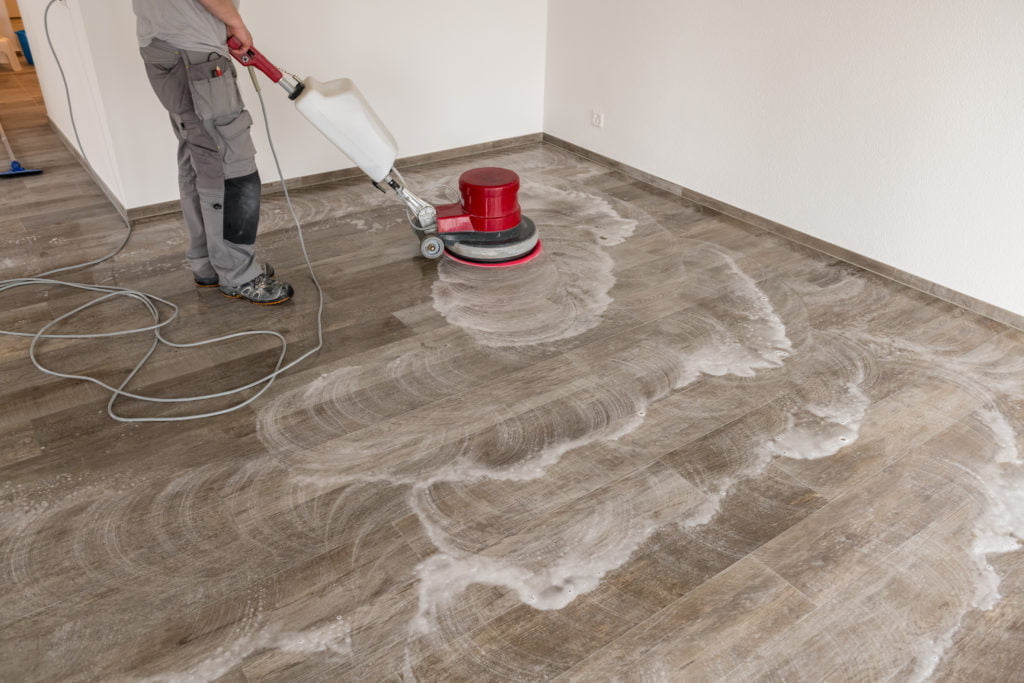
Tiles are one of the most popular flooring options for homes because of their durability. They’re also easy to maintain.
Most often, you just need to sweep and wipe it clean. Nonetheless, you still need to know how to clean your tiles properly to avoid accidents and deterioration of the material.
Fortunately, cleaning tile surfaces is relatively straightforward. You can easily wipe it clean and give it some good elbow grease.
However, cleaning the grout is more complex, especially if dirt and grime have built up for quite some time. Hence, it’d be better to get professional tile and grout cleaning services first. Afterward, you can maintain the condition of your floors through regular cleaning.
Here are five tile and grout cleaning tips and tricks you should know:
1. Have the Right Tools
As with any other project, you need to have the right equipment to make the process of maintaining your tiles and grout stress-free. Fortunately, for this type of floor, you just need basic cleaning tools for these simple tasks:
- Sweeping – A broom and dustpan combo or vacuum cleaner will come in handy for removing dust on tile surfaces. You need to eliminate excess dust first before you can use cleaning solutions. Otherwise, you might end up with murky floors.
- Wiping – Rags, sponges, or a mop is also crucial for wiping surfaces, especially on your walls. They’re also useful for wiping the cleaning solution after you’ve applied it.
- Soaking – You’ll also need a bucket to concoct your cleaning solution and soak your tiled floors. For your tiled walls, you can spritz them using a spray bottle.
- Scrubbing – A scrub brush is one of the essential cleaning tools every home should have. It’s useful for erasing tough stains that rags and sponges are unable to remove. For smaller gaps in between tiles, you can use a toothbrush as well.

2. Make Your Own Cleaning Solution
Commercial cleaning solutions might be too harsh for you and your family’s skin. They’re good for use only for extreme cases of discoloration and dirt.
However, for regular maintenance, it’s better for you to create your own cleaning solution using baking soda and hydrogen peroxide.
This way, you and your family won’t be harmed when exposed to its fumes for a short period or when you touch the liquid accidentally.
Of course, you still need to be careful and wear protective gear like gloves and a mask to protect your hands and face.
You can try experimenting with different ratios to get the potency that you want. For some, a cup of baking soda and hydrogen peroxide is enough.
Another recipe entails half a cup of baking soda, a fourth cup of hydrogen peroxide, and a teaspoon of dish soap.
Baking soda works well as a cleaning chemical because of its texture. Its mild abrasiveness helps you scrub away the dirt that’s stuck on your floor and walls, especially on the grout.
On the other hand, hydrogen peroxide can kill germs and brighten the surface. Moreover, it can be easily broken down by water and oxygen, so you don’t have to worry about any lingering effects after washing and wiping it off.
Lastly, dish soap can help eliminate grease and grime, which is helpful for tiled countertops in your kitchen.
3. Steam Before Starting
For tiles in the bathroom, you have to be mindful of soap scum residue, which is more challenging to eliminate.
Fortunately, one hack you can do is to spritz the floors and walls with your cleaning solution and turn up your water heater to the highest temperature for about five minutes, just until steam builds.
Then, turn it off and give the steam another 20 minutes to melt the stubborn scum away. This way, you won’t need to exert too much effort in wiping and scrubbing.
4. Watch out For Mold
You can easily eliminate mold on tiled surfaces with hydrogen peroxide. However, on porous materials, like grout, you should always include baking soda in the mix since it absorbs moisture, which renders the area uninhabitable for mold.
Moreover, it also has a pH range of 8 to 9, and making the environment too alkaline makes it difficult for mold to survive.
5. Seal After Cleaning
Aside from cleaning your grout regularly, you should also maintain it by reapplying the seal twice or, at the very least, once a year.
You can schedule the resealing 24 hours after deep cleaning it. Just make sure that the grout is completely dry before sealing.
Takeaway
Cleaning your tiles and grout doesn’t require fancy equipment and chemicals. It just needs basic tools, like scrub brushes, rags, and mops.
You can also make your own cleaning solution using hydrogen peroxide and baking soda. Maximize steam to help melt stubborn soap residue, especially for bathroom tiles, and watch out for mold.
Lastly, make sure to reapply the seal on your grout each year.


